Dollhouse Makeover Ideas: DIY Dollhouse Makeover Project
When you take on a dollhouse makeover, you’re stepping into a world where creativity meets precision. Transform each room by using carefully selected materials, such as scrapbook paper for wallpaper. You can even repurpose household items to add a unique touch. From crafting straw hat rugs to creating pendant lights, the possibilities are truly endless. But what’s the best way to tackle each room, and how can you ensure your efforts are cohesive? I’m glad to share some innovative ideas for every corner of your dollhouse.
Key Takeaways
- Use scrapbook paper for chic wallpaper and flooring.
- Spray paint or acrylic paint miniature furniture for a refreshed and cohesive look.
- Repurpose everyday items like old clothes and bottle lids to create unique decor pieces.
- Craft miniature accessories such as throw pillows, rugs, and light fixtures for added detail.
- Customize the dollhouse with different themes like birthday parties, Halloween, or holiday decor.
Supplies for DIY Dollhouse Makeover Project
For a stunning DIY dollhouse makeover, gather essential supplies in your budget.
- Scrapbook Paper: Craft paper, with its diverse patterns and textures, is an excellent choice for enhancing your dollhouse makeover project. You can use it to create realistic wallpaper and flooring.
- Miniature Furniture: It’s time to elevate your dollhouse makeover by incorporating miniature furniture that perfectly fits and enhances each tiny room.
- Spray Paint: Transform your dollhouse furniture and accessories with the versatile power of spray paint. Spray paint is perfect for updating old pieces or creating a cohesive aesthetic throughout your dollhouse.
- Acrylic Paint and Brushes: The acrylic paint and brushes provide the precision and control needed for intricate dollhouse makeover details. For your project, acrylic paint is ideal due to its versatility and quick drying time. It is allowing for layering and complex designs.
- Old Clothes: Repurposing old clothes offers a creative and sustainable way to furnish your dollhouse with unique and personalized decor. You can use old clothes to make small curtains, rugs, and bedding for your dollhouse.
- Repurposed Small Knick-knacks: Incorporating small knick-knacks like buttons, beads, and charms can add intricate and personalized details to your dollhouse makeover project.
- Rubber Cement: Rubber cement is a must-have adhesive for any DIY dollhouse makeover project, offering both precision and versatility. It’s perfect for attaching paper, cardboard, and other lightweight materials, making it indispensable for intricate detailing.
- Hot Glue Gun: A hot glue gun is indispensable for securing miniature furniture and decorations in your dollhouse makeover project. It offers a quick and strong bond for various materials. It is perfect for attaching wallpaper, flooring, and tiny accessories, ensuring they stay firmly in place.
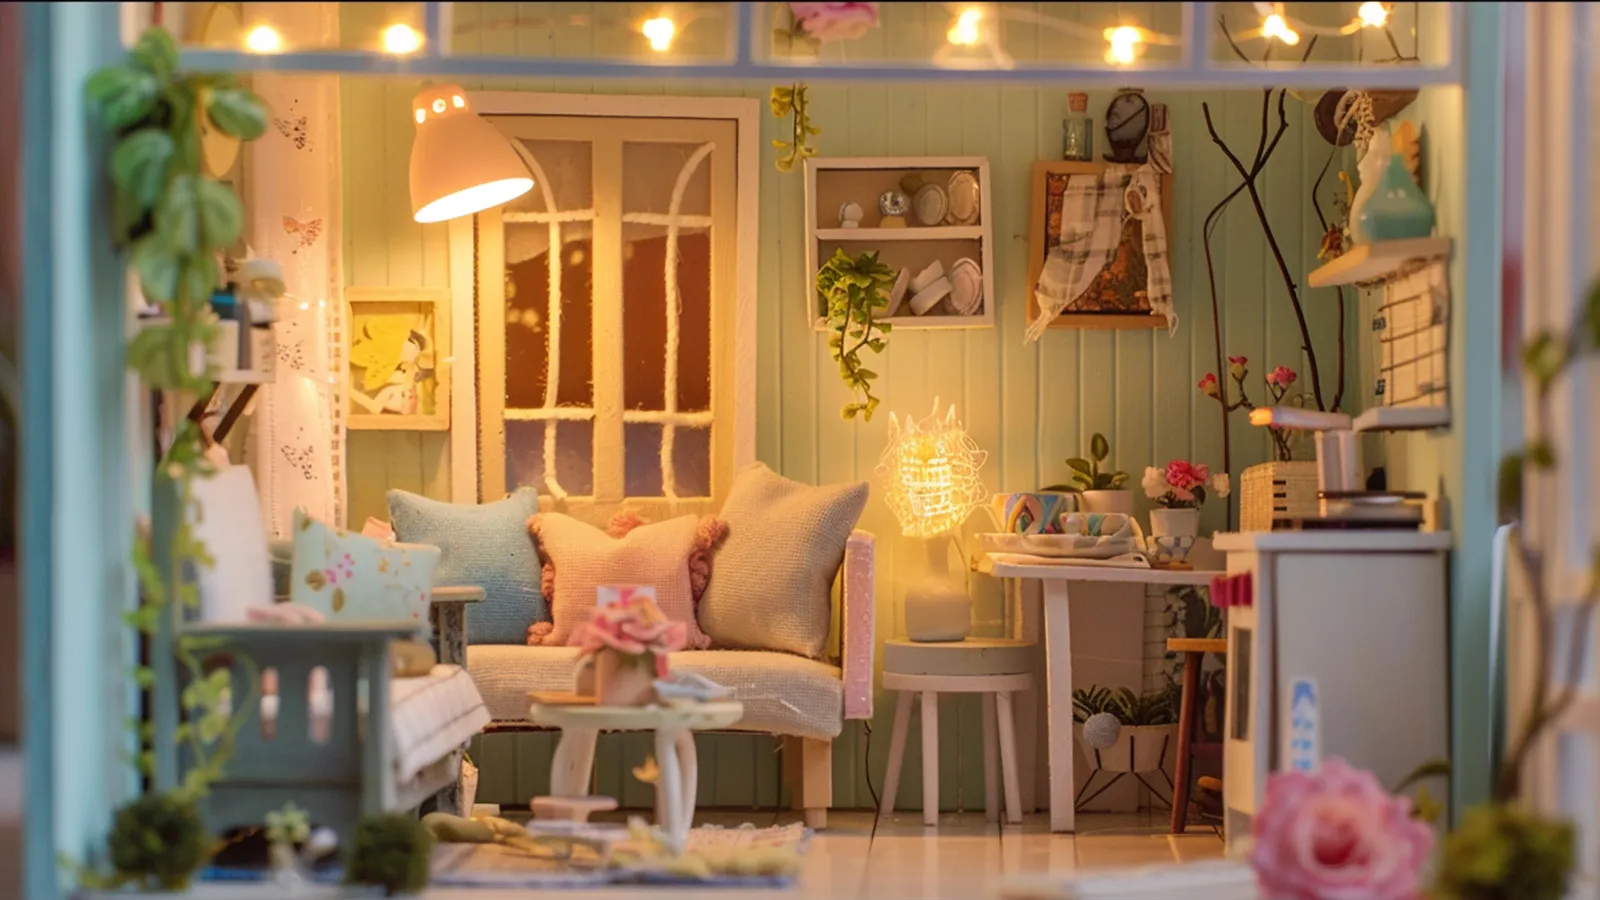
Dollhouse Kitchen Makeover Ideas
Transforming your dollhouse kitchen can be both fun and cost-effective with a few clever tricks.
Spray paint the kitchen set.
Revamp your dollhouse kitchen set effortlessly by spray-painting the furniture in chic, modern colors. Choose colors that complement your dollhouse theme or opt for a modern look with metallic finishes. Spray-painting your dollhouse kitchen set can give it a stylish new look without having to buy new pieces.
Use scrapbook paper as a backsplash.
Consider using scrapbook paper as a creative and cost-effective backsplash to further enhance your dollhouse kitchen’s charm. Scrapbook paper offers a wide array of patterns and designs, allowing you to customize the space with ease. This method not only adds a realistic touch but also eliminates the need for intricate painting.
Simply cut the paper to fit the backsplash area, and adhere it with a glue stick or double-sided tape. Changing decor themes becomes a breeze, as scrapbook paper can be easily swapped out.
Repurpose a straw hat to a rug.
Consider repurposing a straw hat into a charming miniature rug. It adds a unique and textured element to your dollhouse kitchen.
Start by selecting a straw hat with a weave that complements your dollhouse decor. Carefully cut the hat to the desired rug size, ensuring the edges are neat and even. Use a strong adhesive to securely glue the straw piece onto the kitchen floor. Repurposing a straw hat is a cost-effective way to bring texture and detail into your miniature home.
Make a light fixture with a bottle lid and a ping pong ball.
Craft a charming light fixture using a bottle lid and a ping pong ball. Start by selecting a recycled bottle lid, like one from a face wash bottle, to serve as the fixture’s base. Carefully cut a ping pong ball in half to use as the light’s dome. Attach the half ball to the bottle lid using strong adhesive. To enhance the aesthetic, paint the exterior in a metallic hue for a modern touch.
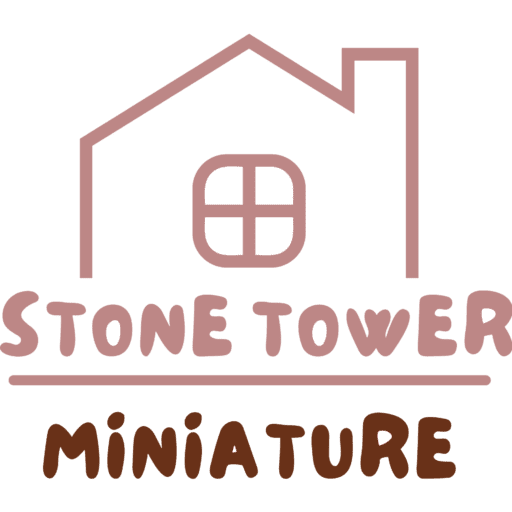
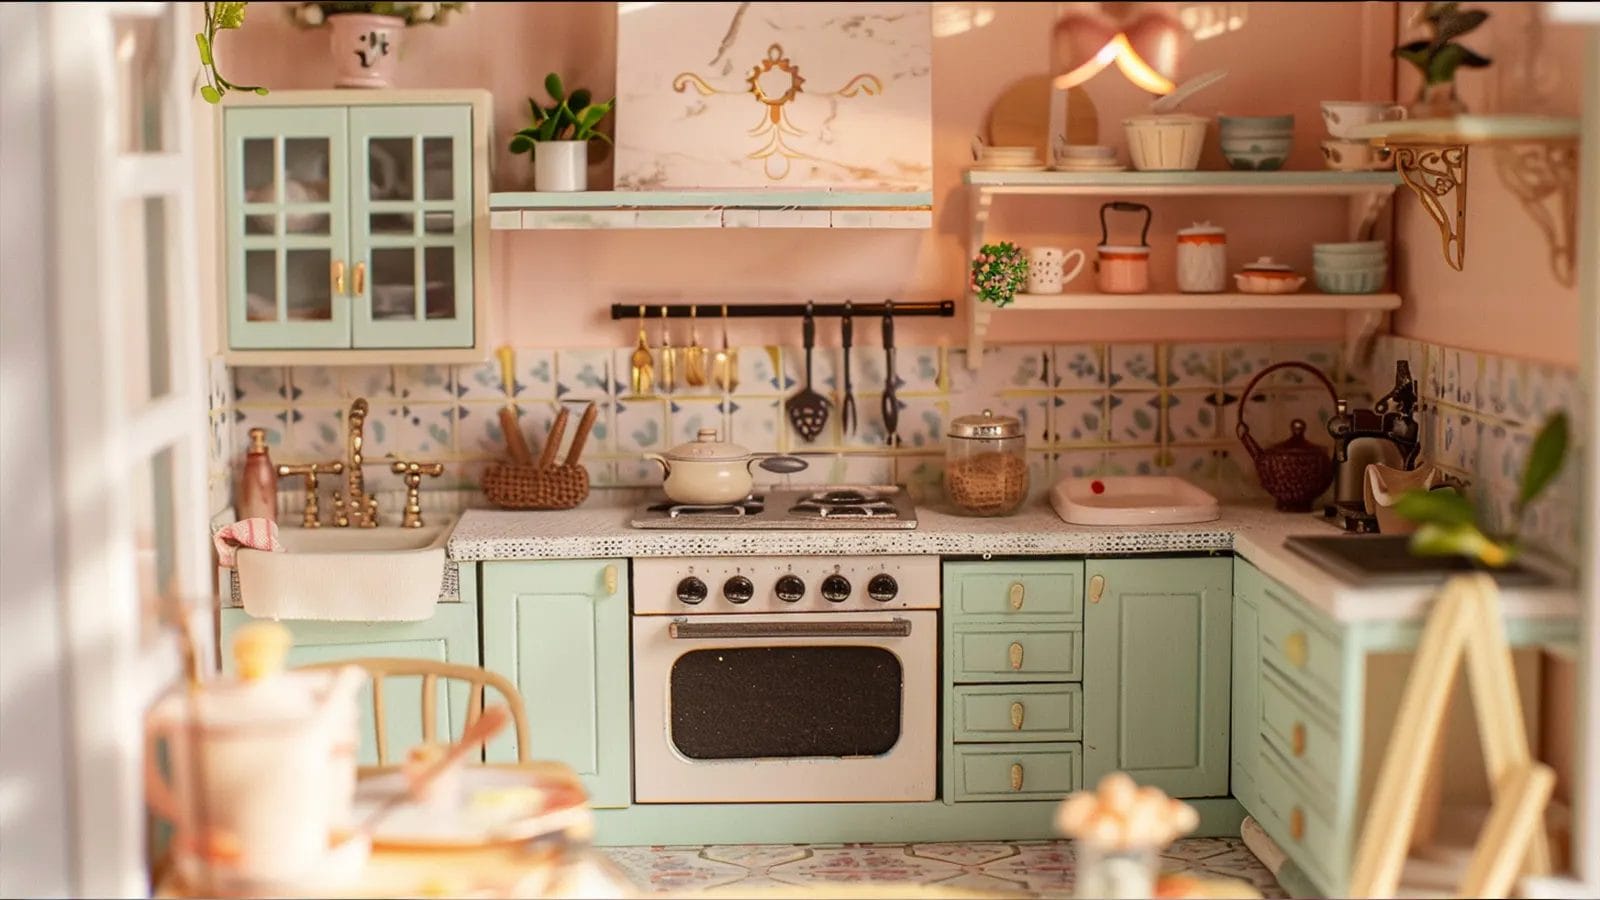
Dollhouse Living Room Makeover Inspirations
Transforming your dollhouse living room can be both fun and budget-friendly with a few creative touches.
Use a foam sheet and card as board and batten.
Use foam sheets and card to create a board and batten wall. It is an effective way to add texture and dimension to your dollhouse living room.
Start by cutting the foam sheet and card to precise measurements for a clean, professional finish. Attach the foam sheet to the walls, then overlay the card strips to form the batten pattern. Paint the board and batten in your desired colors to match your dollhouse’s aesthetic.
Make a jute rug with card stock.
Create a realistic jute rug for your dollhouse living room using card stock and a printed design. It is a simple yet impactful way to enhance the miniature space’s aesthetic appeal.
Begin by cutting the desired rug shape from card stock to fit your dollhouse scale. Use a high-quality printer to transfer a jute rug design onto the card stock. To add texture and depth, incorporate multiple shades of brown into your printed design. Enhance the space further by carefully placing the rug to complement your tiny furniture arrangement.
Spray paint the old furniture.
Spray-painting old dollhouse furniture can breathe new life into your miniature living room.
Start by lightly sanding the old furniture to ensure the spray paint adheres properly. Apply a primer for a smoother, more durable finish. Choose a spray paint color that complements your dollhouse’s overall theme. When painting, ensure proper ventilation and protect surrounding areas.
Once dry, your updated furniture won’t only look stylish but also harmonize beautifully.
Make throw pillows with old clothes.
Transform your dollhouse living room with unique throw pillows made from repurposed old clothes. Start by selecting fabrics from worn-out garments—shirts, dresses, or sweaters work great.
Choose pieces with interesting textures and patterns to enhance the visual appeal of your miniature throw pillows. Cut the fabric into small squares or rectangles, ensuring they fit the scale and style of your dollhouse furniture. Sew the edges together, leaving a small opening to stuff them with cotton or fabric scraps. Finish by sewing the opening closed. Personalize each pillow to create a cozy, stylish living room space.
Make a miniature planter pot with a toothpaste cap.
Consider adding a touch of greenery by making a miniature planter pot with a toothpaste cap.
Start by cutting off the top of the toothpaste cap to mimic the shape of a tiny pot. Next, paint or decorate the cap to match your dollhouse’s aesthetic. Opt for earthy tones or vibrant hues, depending on your theme. Fill the miniature planter pot with small faux plants or flowers for added realism. This easy DIY project brings a delightful splash of nature into your miniature house.
Make a light fixture with a straw hat.
Crafting a light fixture from a straw hat adds a unique, stylish touch to your dollhouse living room makeover.
To start your DIY dollhouse makeover project, select a small, intricately woven straw hat. Carefully cut out the top center, leaving a neat hole for the light bulb. Paint or decorate the hat to match your dollhouse living room’s color scheme. Secure the hat to the ceiling with a tiny adhesive hook or a piece of string. Insert a miniature LED light through the hole, ensuring it hangs securely. This charming light fixture not only illuminates your dollhouse living room but also adds a cozy, chic ambiance.
Dollhouse Dining Room Makeover Ideas
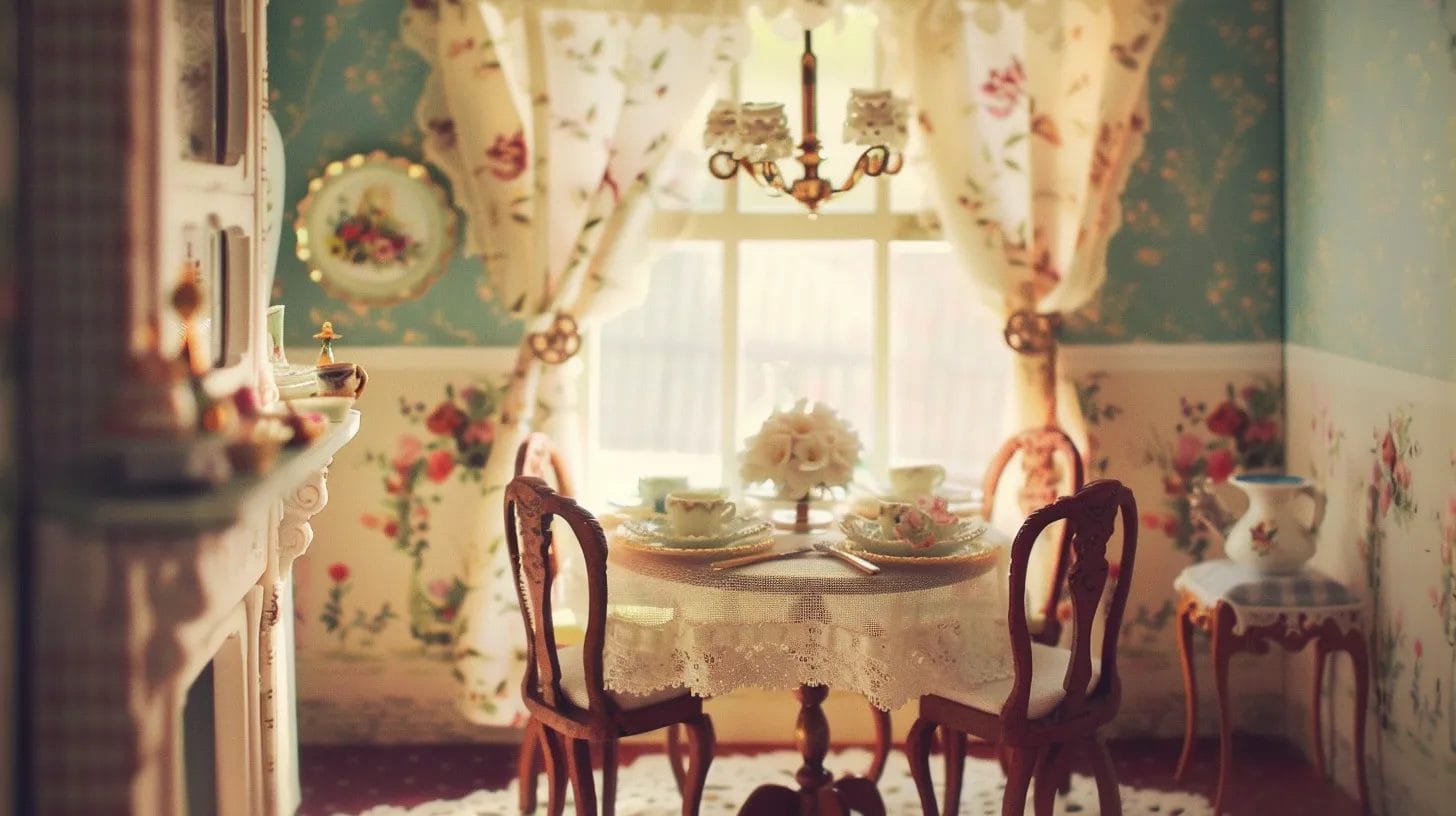
Transform your dollhouse dining room with effortless yet impactful updates.
Spray paint the dining set.
Spray-painting the dining set in your dollhouse can instantly refresh the space. Start by choosing a spray paint color that complements your overall design theme.
Before you begin, apply a primer to the furniture to ensure better adhesion and a longer-lasting finish. Priming is crucial as it helps the spray paint adhere more effectively to the dining set’s surface. Use spray paint specifically formulated for indoor furniture to achieve a smooth, durable result. Once dry, your revamped dining set will look stunning and cohesive within your dollhouse’s aesthetic.
Make curtains with an old shirt.
Repurpose an old shirt by cutting it into small panels to create charming curtains. Choose a shirt with a pattern or color that complements the decor. Measure and cut the panels to the appropriate size for the dollhouse windows, ensuring a perfect fit.
Make a curtain rod with a chopstick.
Elevate your dollhouse dining room’s charm by crafting a curtain rod from a simple chopstick. This will perfectly complement the handmade curtains from the previous project.
Start by cutting the chopstick to your desired length, ensuring it fits your miniature window. Secure the chopstick curtain rod with a dab of glue or tiny nails for stability. For a seamless look, paint or decorate the chopstick to match your dollhouse decor.
Make a chandelier with a keychain.
Transform your dollhouse dining room into a sophisticated space by crafting a stunning chandelier from a cute keychain. Start by selecting a keychain that has a circular or decorative base.
Attach miniature beads or crystals to the keychain to mimic the intricate design of a chandelier. Customize the look with different colors and styles to match your dollhouse decor.
Dollhouse Bathroom Makeover Ideas
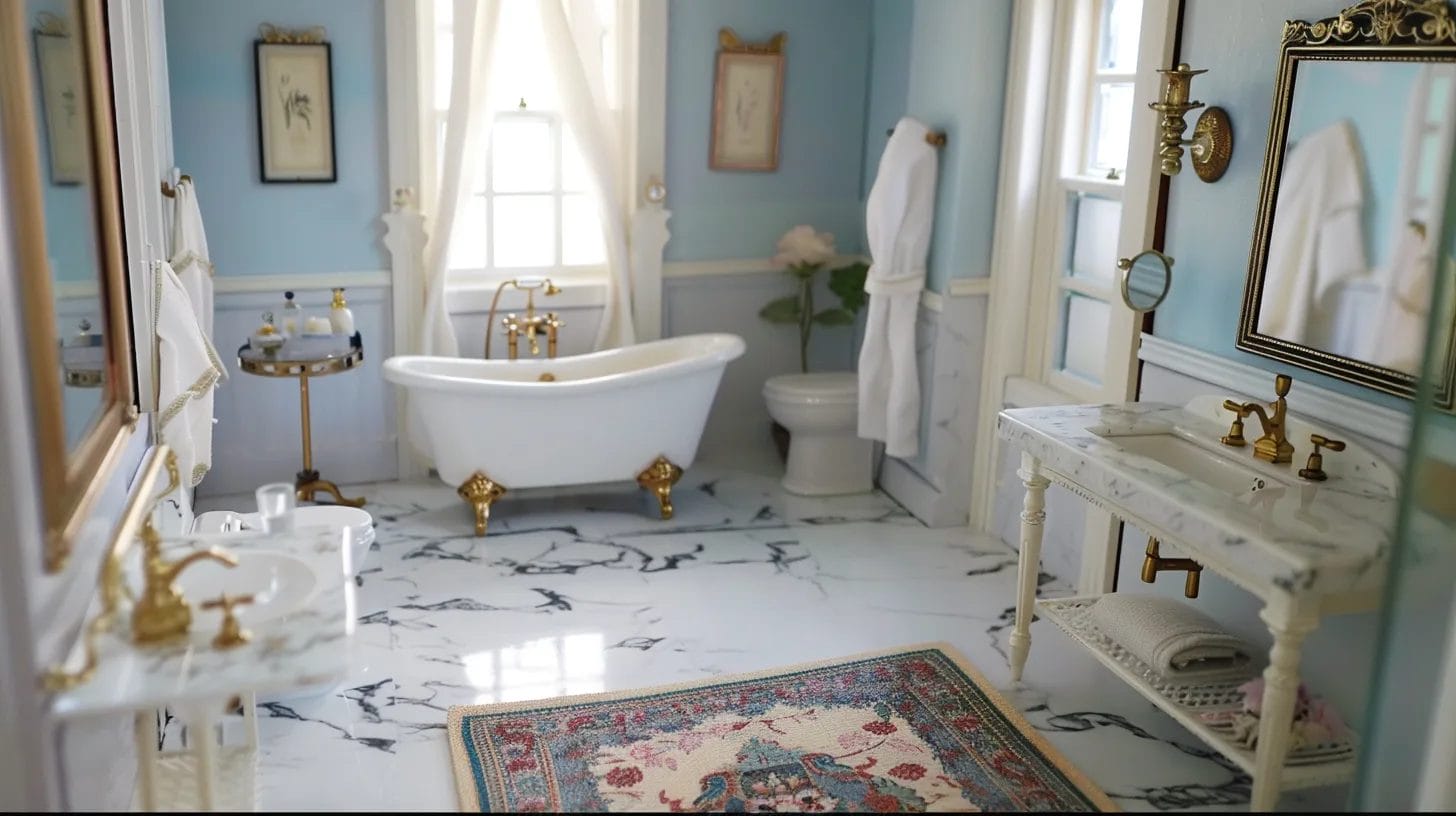
For a charming dollhouse bathroom, start by placing all the essential miniature furniture to create a realistic layout.
Place all the bathroom furniture.
Start by arranging the essential bathroom fixtures—bathtub, sink, and toilet. Prioritize a well-thought-out bathroom layout.
Position the bathtub against a longer wall. Place the sink and toilet where they’re easily accessible yet don’t overcrowd the area. Enhance the space with accessories like miniature soap dishes, mirrors, and plants to add a touch of realism.
Make towels with an old washcloth.
Repurpose an old washcloth into charming miniature towels to add a touch of realism to your dollhouse bathroom. Start by cutting the washcloth into small squares that mimic full-sized towels. Secure the edges with fabric glue to prevent fraying and ensure a polished look.
To elevate the aesthetic, consider embellishing the miniature towels with tiny ribbon bows or small buttons. Experiment with various colors and patterns to align with your dollhouse’s bathroom theme.
Hang a landscape art printed on card stock.
Why not add a touch of elegance to your dollhouse bathroom by hanging a landscape art printed on card stock? Card stock is an ideal material for printing landscape art because it’s budget-friendly, customizable, and easy to work with. Select your favorite landscape scenes to create a unique ambiance in your dollhouse bathroom.
Dollhouse Bedroom Makeover Inspirations
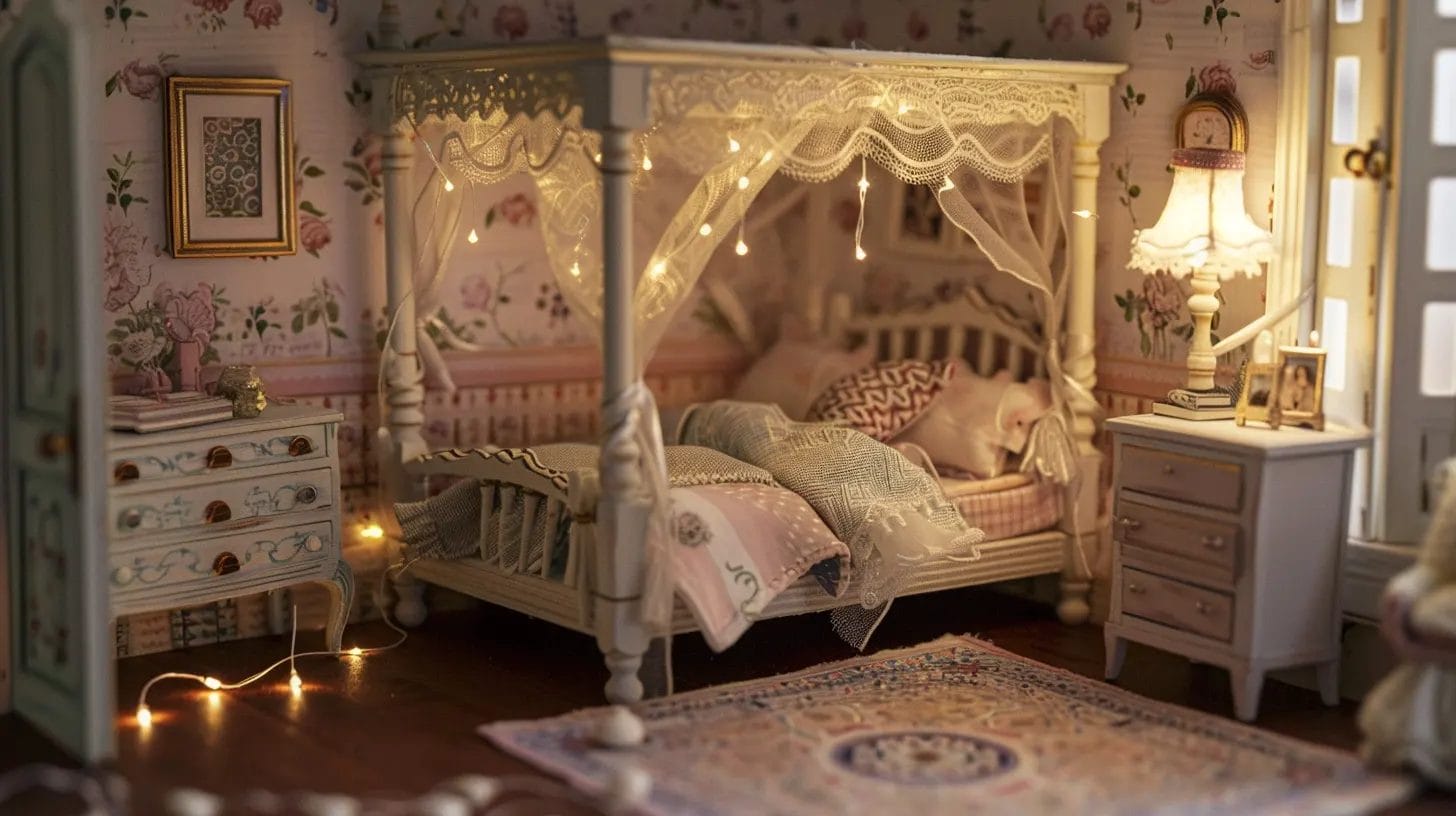
To transform your dollhouse bedroom, start by arranging the bed and nightstand to create a cozy focal point
Place the bed and nightstand.
Start by positioning the bed against one wall to create a captivating focal point. This placement not only anchors the room but also maximizes space.
Next, place a nightstand adjacent to the bed for added realism and functionality. Ensure the scale of both the bed and nightstand matches the proportions of the room, maintaining a balanced aesthetic.
Add a mini mirror.
Adding a mini mirror to your dollhouse bedroom. Mirrors are excellent for reflecting light, which can brighten up the room and create the illusion of more space. Choose adhesive-backed mirrors for easy application and repositioning. These mirrors come in various shapes and styles, allowing you to match any bedroom theme.
Make the bedding with clothes scraps.
Elevate the ambiance of your dollhouse bedroom by crafting exquisite bedding using fabric scraps. Start by cutting small pieces of fabric from old clothes to create unique pillows and blankets. Mix different textures and patterns to give each bedding set a distinctive look. Add decorative elements like lace trim or tiny buttons to enhance the charm.
Make sheepskin rugs with old fleece mittens.
Crafting sheepskin rugs from old fleece mittens can bring an inviting warmth and texture to your dollhouse bedroom. Start by upcycling old fleece mittens into cozy decor by cutting them into small rug shapes.
Don’t hesitate to mix and match different colored mittens to create unique, charming rugs. By customizing the size and shape of these sheepskin rugs, you can perfectly fit various bedroom layouts.
Make pendant lights with straw hats.
Transform ordinary straw hats into one-of-a-kind pendant lights. Start by cutting out the top of a small straw hat. Next, attach a tiny LED light inside, ensuring it fits snugly for a secure hold. You can customize these pendant lights with different colored hats or patterns to complement your dollhouse decor.
DIY Dollhouse Makeover with Different Themes
Transforming your dollhouse with different themes can be both fun and visually stunning.
Birthday Theme
Turn your dollhouse into a stunning birthday wonderland and take your makeover to new heights. You can incorporate vibrant decorations, miniature cakes, and festive accessories.
Start by adding colorful party hats, tiny balloons, and a charming birthday banner to set a celebratory mood. Position a miniature cake on a decorated table, surrounded by tiny presents to enhance the birthday ambiance. Don’t forget to include a miniature gift table filled with party favors and a small birthday card.
Halloween Theme
Give your dollhouse a Halloween makeover by incorporating spooky elements like fake cobwebs, mini pumpkins, and eerie lighting effects.
Start by draping cobwebs over furniture and in corners. Enhance the ambiance of each room by scattering miniature pumpkins, adding a delightful seasonal touch. Enhance the spooky vibe with eerie lighting effects, using tiny LED lights in orange and purple. Use miniature skeletons, witches, and ghost figurines to complete the Halloween theme. Use an orange and black color scheme for a cohesive look. Don’t forget tiny jack-o’-lanterns and other Halloween-themed accessories.
Christmas Theme
Christmas-themed dollhouse makeover can create a cozy and enchanting holiday atmosphere with mini trees, fairy lights, and festive decorations. Start by placing a mini Christmas tree in your dollhouse living room, adorned with tiny ornaments and a sparkling star. Hang a string of miniature fairy lights to illuminate the scene.
Incorporate festive details like miniature wreaths on doors and small wrapped presents under the tree. Enhance the holiday spirit with a tiny Santa Claus or snowman figurine. DIY your own tiny garlands and holiday banners for a personalized touch.
Conclusion
With the right supplies and a bit of imagination, you can create stunning miniature spaces—from chic kitchens to cozy bedrooms. Now you can transform your daughter’s dollhouse into a more attractive space. It will be a special gift.
Don’t hesitate to experiment with different themes and repurpose everyday items for a truly personalized touch. Dive into your dollhouse makeover project and watch it come alive with charm and character.