Dollhouse Roof Ideas for Your DIY Miniature Doll House
As you start designing your dollhouse’s crowning glory, you’ll face numerous options that can either make or break the entire miniature structure. You’ll need to choose a roof style that complements your dollhouse’s architecture, ranging from classic gable and hip roofs to modern flat and gambrel designs.
However, that’s just the beginning. You’ll also need to select the perfect materials and decorative elements to bring your vision to life. With so many possibilities, it’s essential to have a clear plan in place. So, where do you start?
Key Takeaways
- Consider classic roof styles like gable, hip, and mansard or modern alternatives like flat and gambrel roofs for your dollhouse.
- Choose shingles, tiles, metal, or synthetic materials to elevate your dollhouse roof design.
- Add decorative elements like chimneys, dormer windows, and roof trims to enhance the aesthetic.
- Ensure accurate scaling by measuring room dimensions and calculating roof dimensions for a seamless fit.
Dollhouse Roof Ideas: Types of Dollhouse Roofs
As you explore the world of dollhouse roofs, you will see a variety of styles that suit your miniature abode.
Gable Roof
You can’t go wrong with a classic gable roof. This timeless dollhouse choice offers a traditional look with two sloping sides meeting at a central ridge.
This versatile roof style is perfect for both small and large dollhouses, adding a touch of realism to miniature structures.
With a gable roof, you can create a dollhouse that’s both visually appealing and true to scale.
Hip Roof
With its gentle slope and symmetrical design, a hip roof adds a touch of classic elegance to your dollhouse, whether you’re going for a traditional or modern look.
This versatile roof style is a popular choice for dollhouses, and for good reason. The gentle slope of a hip roof provides stability, making it practical. Plus, its symmetrical design adds a touch of sophistication to your miniature abode.
With its timeless appeal, a hip roof is sure to elevate your dollhouse to the next level.
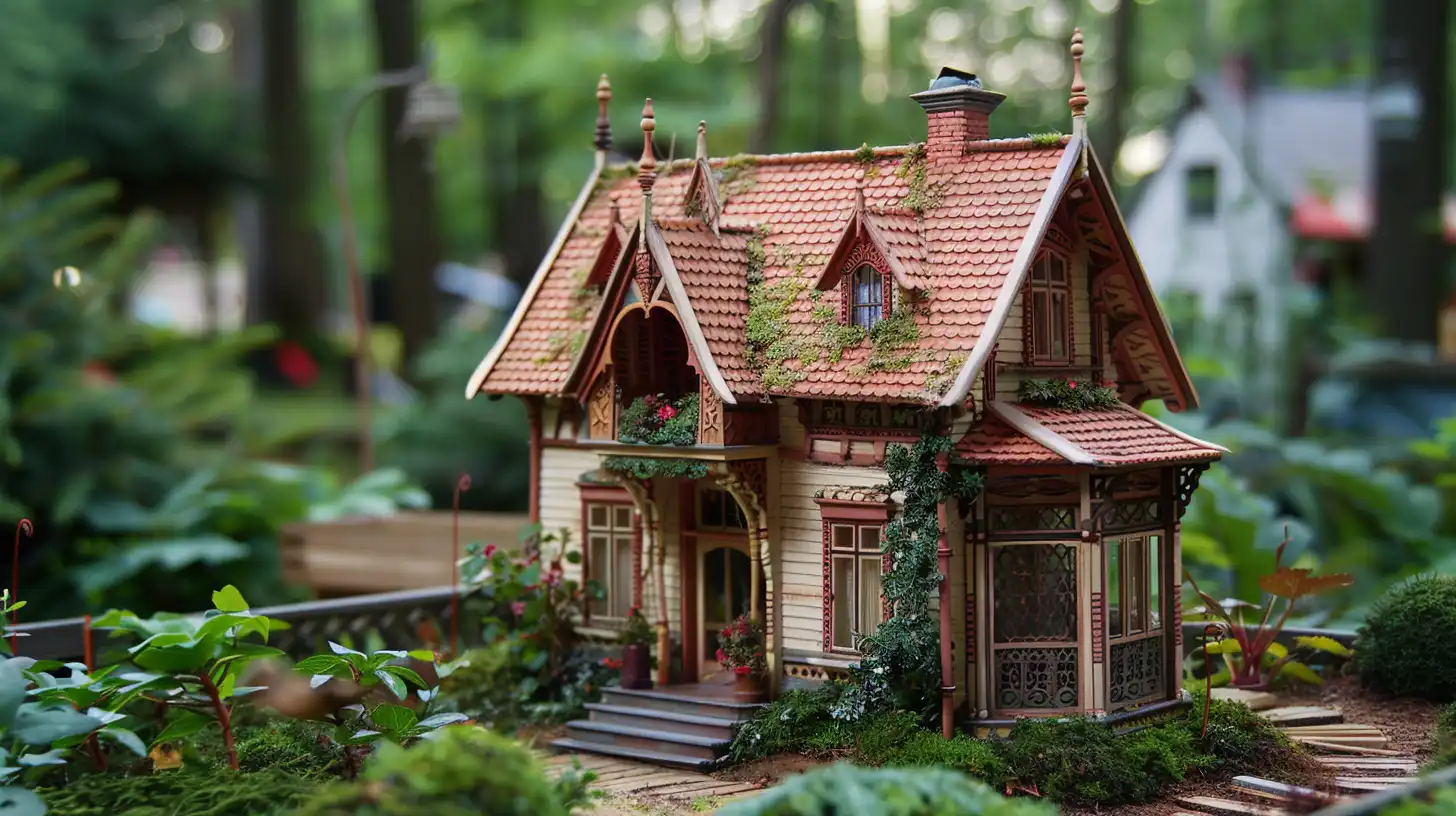
Mansard Roof
Mansard roofs, characterized by their unique double-sloped design, offer a striking alternative to traditional hip roofs. They allow you to add an extra layer of elegance and functionality to your dollhouse.
With a steeper lower slope and a gentler upper slope, mansard roofs create a distinctive silhouette that’s perfect for Victorian-style dollhouses. One of the biggest advantages of a mansard roof is its extra living space in the attic area, giving you more room to get creative with your interior design.
Flat Roof
Flat roofs have become a staple in modern dollhouse design. They offer a clean and minimalist aesthetic that complements various architectural styles.
With a flat roof, you can get creative with rooftop gardens, solar panels, or rooftop patios, adding realism and detail to your miniature masterpiece. Pair a flat roof with modern materials and clean lines for a contemporary look. The result will be a stylish, urban dollhouse showcasing your unique style.
Gambrel Roof
A gambrel roof featuring two distinct slopes reminiscent of traditional barn structures can add a touch of classic charm to your dollhouse.
This versatile design not only adds aesthetic appeal but also provides extra space for an attic or storage area in your miniature house.
The gambrel roof’s classic style can be adapted to suit various architectural styles in dollhouse construction, making it an excellent choice for your miniature project.
Dollhouse Roof Ideas: Materials for Dollhouse Roofs
As you design your dollhouse roof, consider the materials that will bring your vision to life.
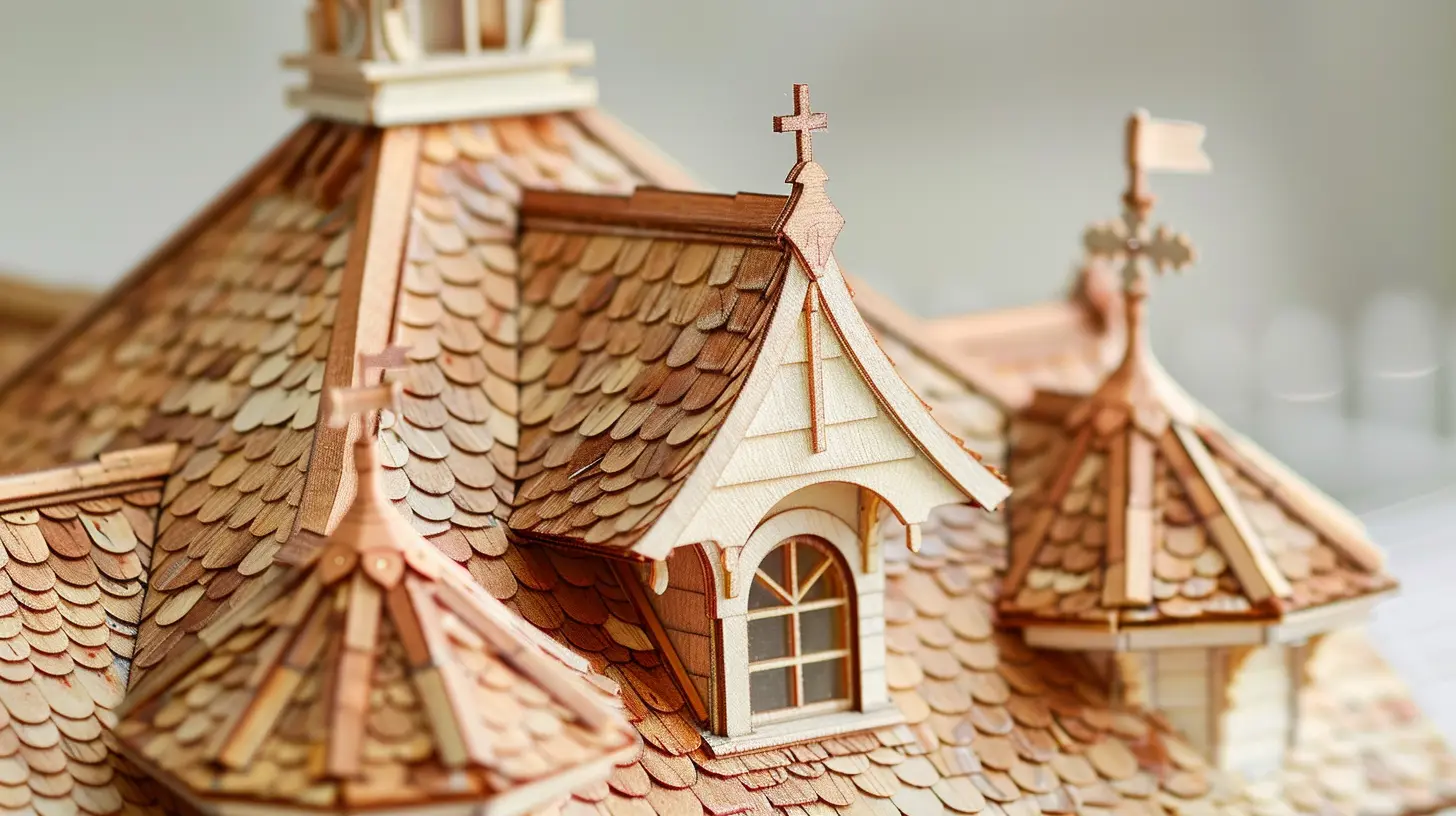
Shingles
Choosing the right shingles for your dollhouse roof can make all the difference in achieving the perfect miniature replica.
Consider using birch or cedar shingles for a natural look, which can add a rustic charm to your dollhouse. If you want to add a touch of luxury, you can use copper shingles or simulate a copper roof finish with metallic craft paint.
Whatever material you choose, weather and distress the shingles to give your dollhouse a lived-in look.
Tiles
Four popular materials for dollhouse roof tiles are wood, clay, metal, and sandpaper. Each offers a unique aesthetic and level of realism. When choosing a material, consider the style you’re aiming for.
Wood tiles provide a traditional and realistic look, while clay tiles give a rustic feel. Metal tiles, like copper or aluminum, add a modern touch. Sandpaper tiles, on the other hand, are cost-effective and easy to work with, creating a textured and weathered look.
You can experiment with different textures and combinations to achieve the desired effect. The right tile material can elevate your dollhouse roof and exterior design, so choose wisely.
Metal
Metal roofs, particularly copper, bring an elegant touch to your dollhouse. With some creativity, you can achieve a realistic look without breaking the bank.
Copper is a popular choice due to its realistic and elegant appearance. If you’re on a budget, you can use copper-colored cardstock or poster board as a cost-effective alternative.
To create joint strips for a copper roof, you can use copper tape or strip wood for added authenticity. If you’re not feeling crafty, you can also use metallic craft paint to simulate the look of a copper roof.
Synthetic Materials
Synthetic materials like plastic, resin, and composite shingles are popular for dollhouse roofs due to their durability, variety, and ease of use. They offer various colors and textures that mimic real roofing materials.
Unlike natural materials, synthetic options are more resistant to wear and tear. They ensure that the dollhouse roof remains intact and visually appealing over time.
Additionally, synthetic materials are lightweight and easy to cut, making the installation process straightforward for hobbyists of all skill levels.
Dollhouse Roof Ideas: Decorative Elements
Now that you’ve chosen the perfect material for your dollhouse roof, it’s time to add some decorative elements to give it a personal touch.
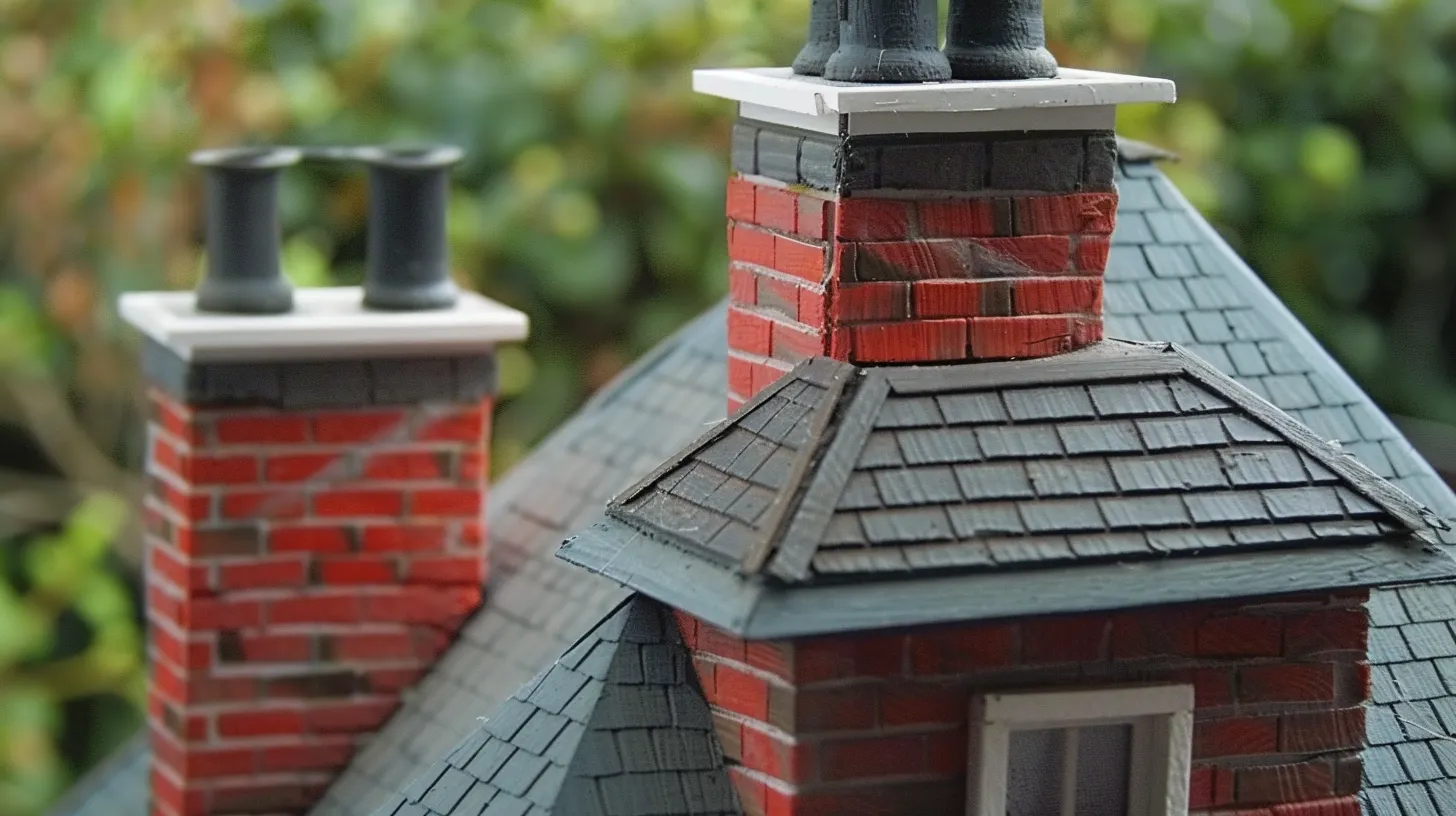
Chimneys
Chimneys are a great way to add character to your dollhouse. To suit your design, you can make them from various materials like wood, plastic, clay, or resin.
You can also paint or texture them to mimic brick, stone, or stucco finishes for a more authentic look. Adding a chimney can enhance the architectural details of your dollhouse roof and create a focal point for your miniature display.
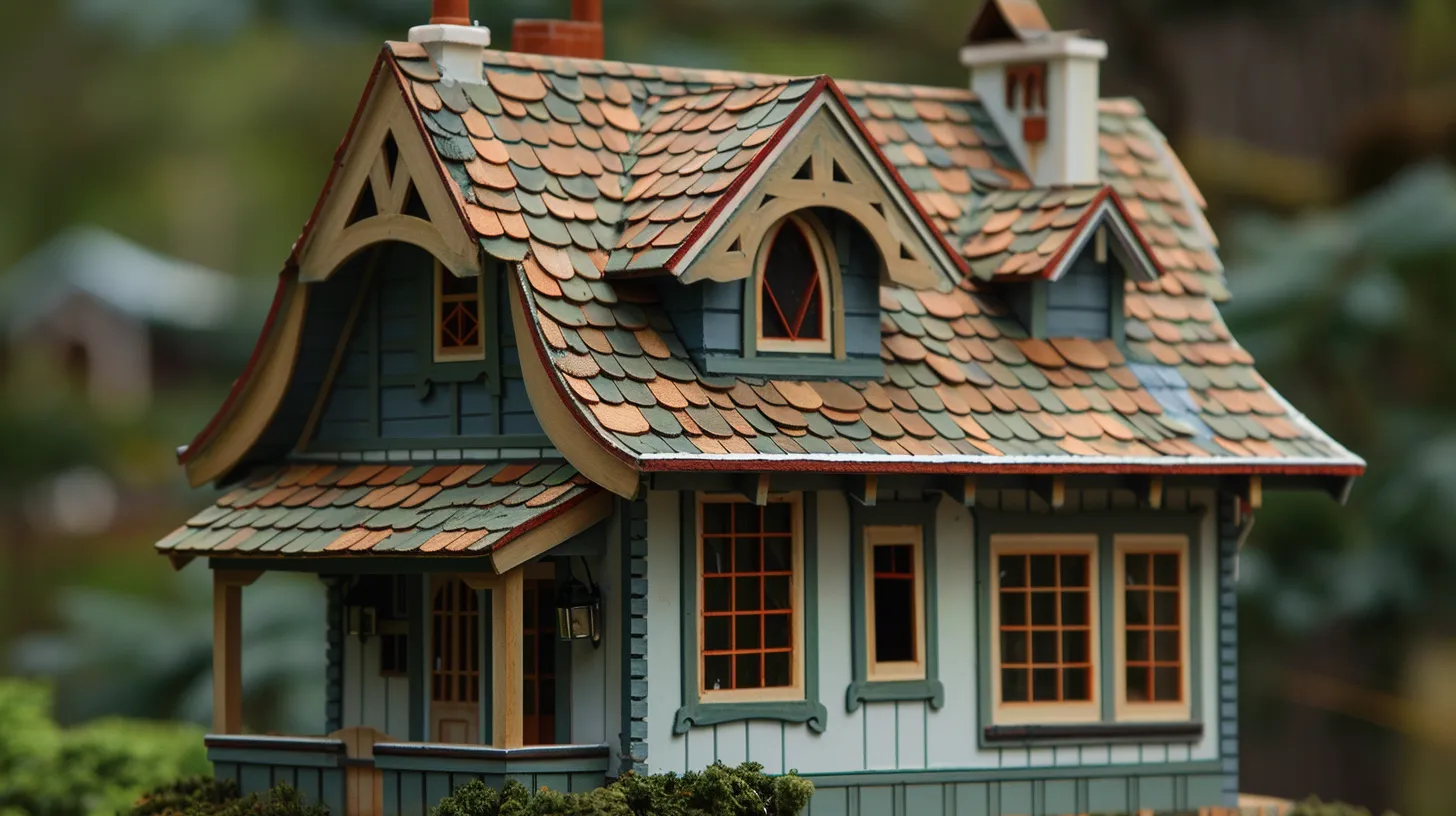
Dormer Windows
By incorporating dormer windows, you can add a touch of realism and visual interest to your dollhouse roof. These windows not only bring in natural light but also create a charming architectural focal point.
With various styles, such as gable, shed, hipped, and eyebrow, you can select the perfect design to complement your dollhouse’s architectural style.
Roof Trims
Incorporate decorative roof trims to elevate your dollhouse’s roof to the next level. These not only add a touch of sophistication but also bring a cohesive look to the overall design. You can choose from various styles, including shingles for corners, picket detail trim, corner wood molding, and roof ridge trim. To secure these trims, use cement glue to ensure a strong bond.
With the right roof trims, you’ll be amazed at how they can transform the entire look of your miniature masterpiece.
Step-by-Step Guide to Constructing a Dollhouse Roof
 Now that you’ve explored the world of dollhouse roof ideas, it’s time to get hands-on and build your miniature masterpiece.
Step 1: Planning and Measurements
Start by calculating the measurements of your dollhouse, taking note of each room’s width, length, and height. This will help you determine the correct scaling for your roof.
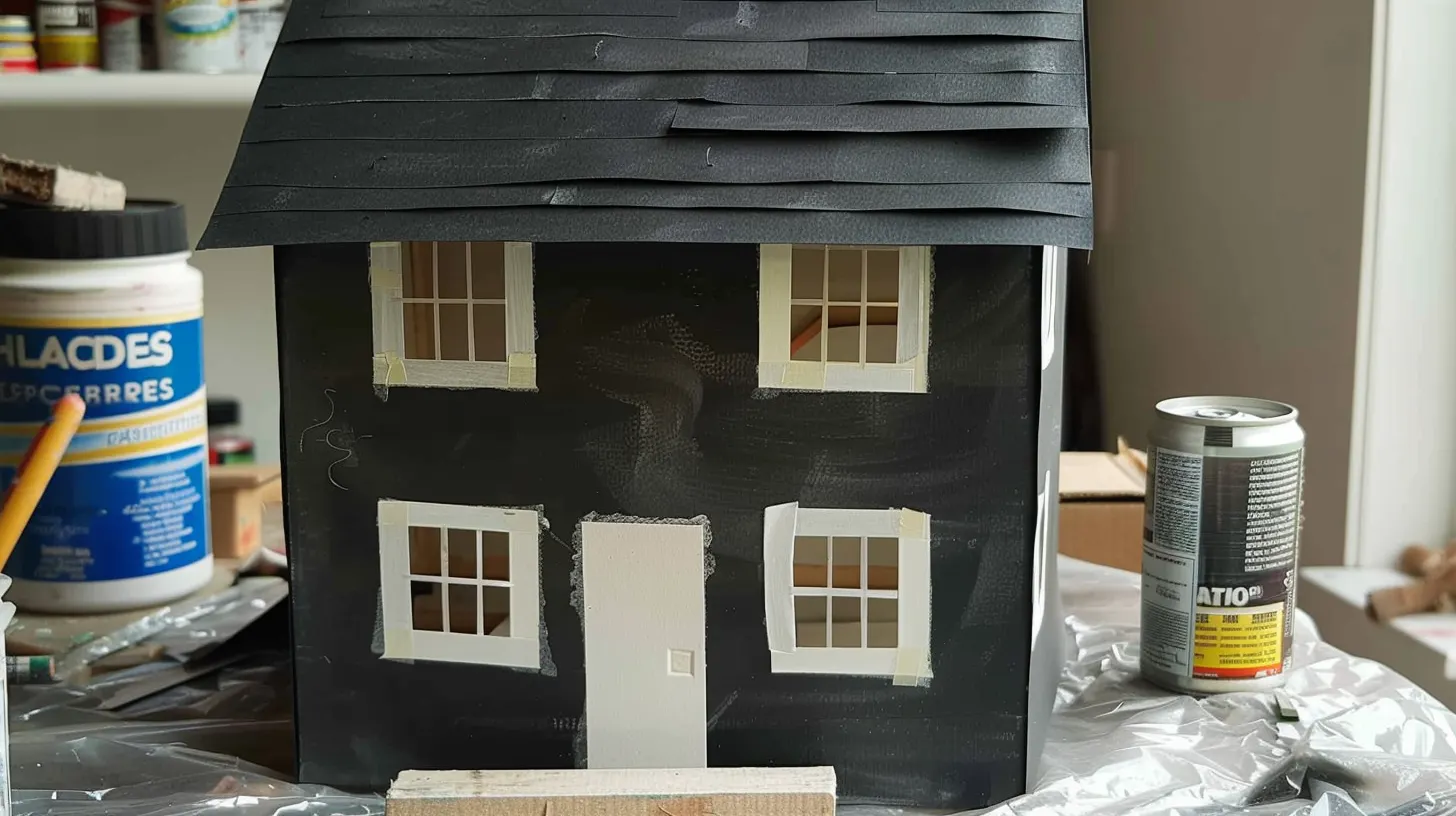
Step 2: Cutting Materials
With your measurements, you’re ready to start cutting the materials. Using an X-ACTO Knife and Self-Healing Cutting Mat, carefully cut small strips of sandpaper sheets to create individual shingles.
You can also cut foam core or cardboard to create a sturdy base for your roof. When cutting, make sure to work in small sections to maintain accuracy. To add texture and depth, trim slivers off each tab of the sandpaper shingles before attaching them to the roof.
Step 3: Assembly
Start constructing your dollhouse roof by applying a thin, even layer of contact cement glue to the roof’s surface, ensuring a strong bond between the roof and the shingles.
Next, attach the shingles to the roof panels, carefully positioning them to create a uniform pattern. Use contact cement glue to secure the shingles in place.
Step 4: Finishing Touches
To achieve a realistic and polished finish, start by applying a dark paint primer to the roof surface. This will provide a cohesive base for your chosen roofing material.
Next, use sandpaper to add texture and realism to your dollhouse roof. Apply the sandpaper using hot melt glue, making sure to butt the edges together for seamless joints.
For a more rustic look, consider using faux fur to create an authentic thatched roof. A matte varnish finish enhances the look.
If you’re working with a plywood mansard roof, consider replacing it with composite panels for easier handling and installation.
Conclusion
You’ve got a solid foundation for your dollhouse roof design. Now, it’s time to bring your vision to life!
Remember to choose a roof style that complements your dollhouse’s architecture, select materials that fit your theme, and don’t forget to add decorative elements to give it personality.
With careful planning and attention to detail, you’ll be proud to show off your miniature masterpiece.
Happy building!